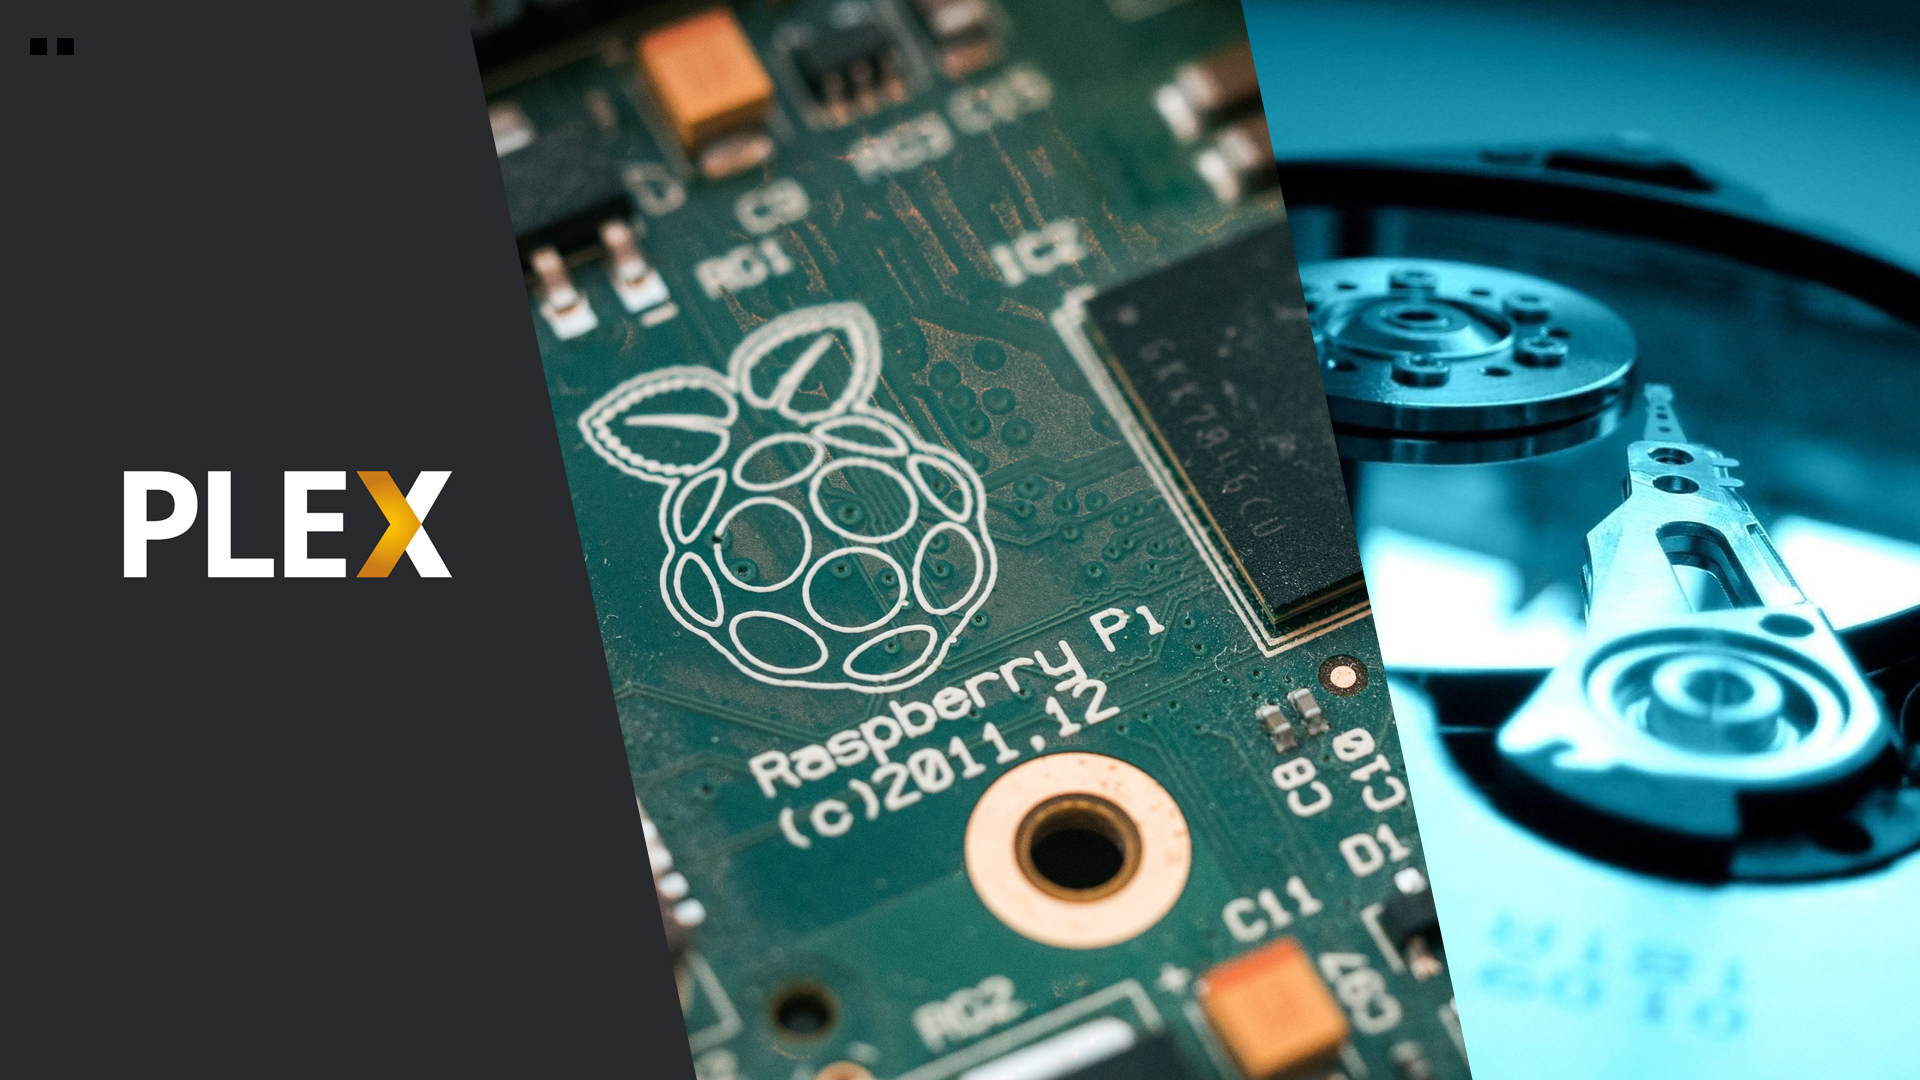
Plex + Raspberry Pi + ExFat HDD
Your local Netflix with ExFat HDDs
In today’s post I explain how to set up a Plex server on a Raspberry and use an Exfat HDD to store media files.
Plex
The operating system I am using is Raspbian OS Lite. It has no graphical interface, just a terminal, but it will be more than enough. It weighs only 480 mb. You can find it at the official page.
Initial Steps
First of all, it is always advisable to update the Raspberry.
1
2
sudo apt-get update
sudo apt-get upgrade
Remember: to be able to access the Raspberry Pi via ssh it is necessary to create an empty file named “ssh” in the root of the SD card.
Tip: you can run the following command from your computer to find out the IP that the router has assigned to the Raspberry.
arp -a | findstr b8-27-eb
Well, now we are sure that the Raspberry is up to date and that we are not missing anything we might need.
The next step is to add the Plex repository to the system repository list.
1
2
3
sudo apt-get install apt-transport-https
curl https://downloads.plex.tv/plex-keys/PlexSign.key | sudo apt-key add -
echo deb https://downloads.plex.tv/repo/deb public main | sudo tee /etc/apt/sources.list.d/plexmediaserver.list
When a new repository has been added, it will be necessary to run the “update” command to refresh the list.
1
sudo apt-get update
Instalation
With the previous steps completed, all that remains is to install the Plex server.
1
sudo apt install plexmediaserver
Starting and stopping the server
By default the server is already up once the installation is finished or when restarting the Raspberry. In any case, the command in case it is not:
1
sudo service plexmediaserver start
Similarly, if you want to stop the server:
1
sudo service plexmediaserver stop
Connect HDD Exfat
The first idea that comes to mind is to simply connect the external hard drive (or internal hard drive with an enclosure) to one of the USB ports of the Raspberry. And yes, that might be enough. So that’s the first thing we are going to try:
By using the df command we can see the list of connected devices:
1
df -h
We will have to find a line with the name of our disk (it does not have to be the same as the one you see below, but it does have to start with /dev):
1
/dev/sda1       932G  222G  710G  64% /media/pi/mi-disco
In my case the file system is named /dev/sda1.
If your disk is not listed, take a look at the next section before continuing where I talk about external power. It will probably solve your problem.
For the Raspberry to recognize the Exfat format we install the following:
1
2
sudo apt install exfat-fuse
sudo apt install exfat-utils
We create a directory where we will mount the disk:
1
sudo mkdir /media/mydisk
And finally we mount the disk:
1
sudo mount -t exfat /dev/sda1 /media/mydisk
External power supply
If connecting the HDD to the Raspberry has not worked for you, it is probably because the HDD needs more power than the Raspberry can provide. There are two solutions to this situation:
- Use an enclosure that has an input for external power supply.
- Use a USB rack with external power supply -> Amazon link..
In my case, since I already had an unpowered enclosure purchased before I had this problem, the only solution that worked for me was the second one.
24/7 connected, to what extent is it advisable?
The big debate: the hard disk is spinning 24 hours a day even if I am not using it, can it break down or deteriorate its lifespan?
This question does not have an easy yes or no answer. There are numerous articles that compare having a hard disk spinning uninterruptedly with turning it off and on every time we make use of it. Remember that at all times in this article I am referring to hard drives, whose components are mechanical, not a solid state drive (SSD).
Personally, I prefer that if the disk is not being used, better stopped. There is a tool with which this can be achieved: hdparm.
Wikipedia: hdparm is a command line utility for GNU/Linux and Windows operating systems for viewing and adjusting hardware parameters of IDE and SATA1 disks. The utility can adjust parameters such as disk cache, sleep mode, power control, acoustic management and DMA settings. It is usually installed by default on most GNU/Linux distributions.
Therefore, with the following command the disk will stop spinning if it is idle for 3 minutes. As soon as its information is accessed it will start spinning again:
1
hdparm -B 50 -S 36 /dev/disk/by-label/nombre-del-disco
Conclusion
At this point Plex will be installed and ready for use. You can access its graphic interface through a web browser that is on the same local network through the address:
1
http://ip-rasberry:32400/web/index.html
I hope you found it useful,
Javier Helguera.