The best screen for Raspberry Pi (Zero and 3)
Finally... I found it, the best screen (for real).

Introduction
Several years ago I started working on a personal project that consisted of building from scratch a portable retro console using a Raspberry Pi with Retropie. My idea was to make it as small and portable as possible, so I decided to use a Raspberry Pi Zero.
Unlike its more powerful sisters, the Pi Zero doesn’t have HDMI video output, which complicates things quite a bit. But don’t worry, I bring you the best solution that I have found, after a lot of frustration and broken screens :)
The famous screen
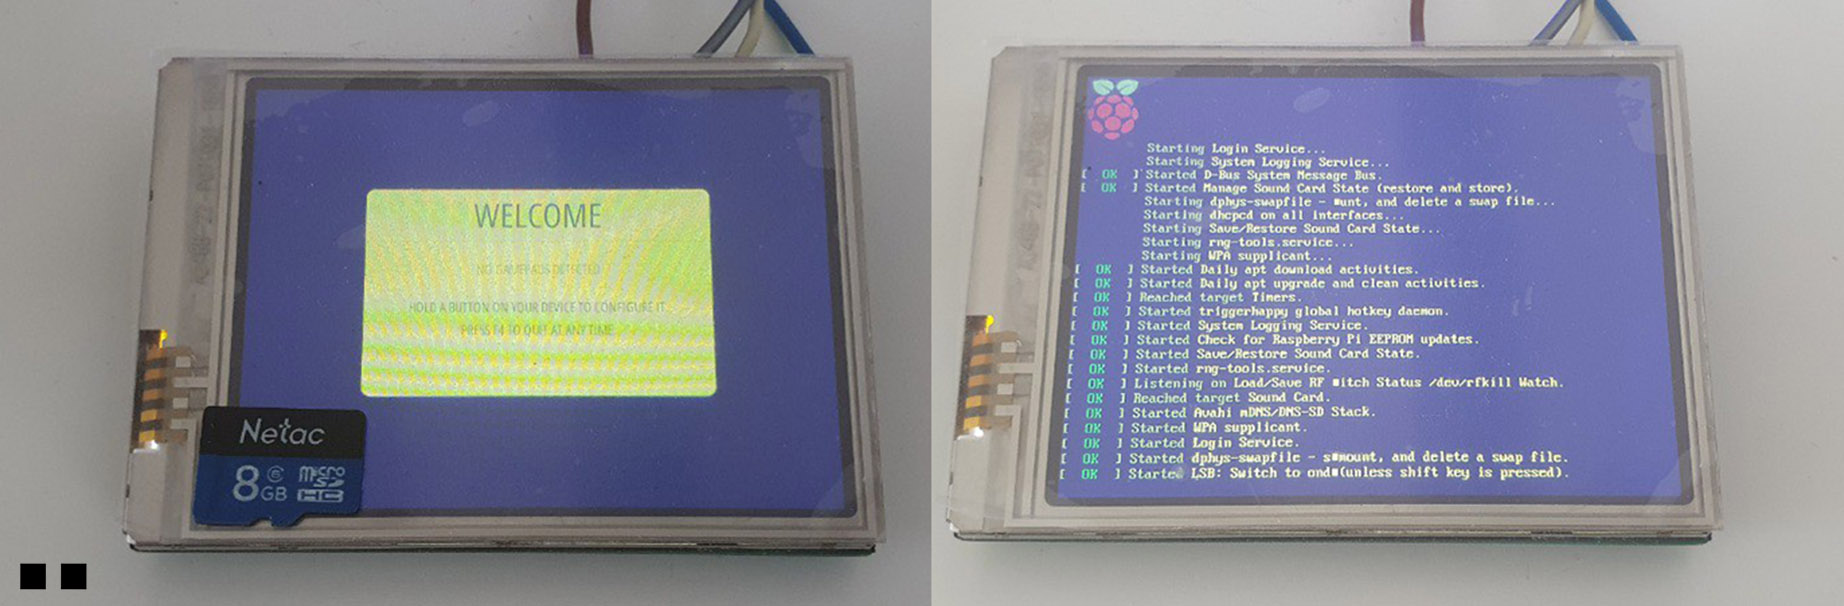
It is a 2.8 inch resistive touch screen for Raspberry Pi Zero /W and Raspberry Pi 3 model b+ /3B/2B/B+ with a Super HD resolution 640x480, 60 fps, 16 bit color and RGB565 mode. All this for less than 20€.
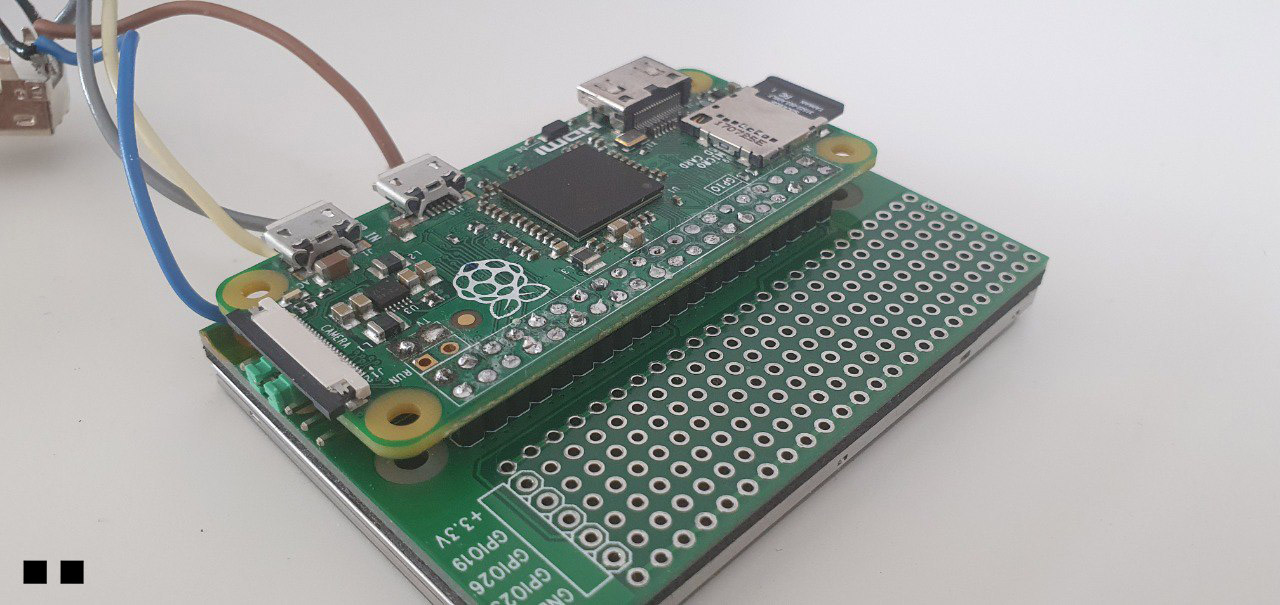
It connects to the Raspberry Pi through the 40 pins it has, as you can see in the picture. And yes, I’ve noticed this too, this can be inconvenient since it doesn’t leave any free for another function.
You can buy it at Aliexpress through this link and access its official documentation through this.
Instalation of Retropie or Raspbian
Developers claim that the screen (and touch) works with Raspbian. But that doesn’t mean it doesn’t work on other systems. My personal experience is:
| System | Screen Works | Touch Works | ||
|---|---|---|---|---|
| Raspbian | ✅ | ✅ | ||
| Retropie | ✅ | ❌ |
You can always try your luck with more options. If you do, leave your experience in a comment and I will add it to the table.
Display settings
Physical connection
Simply weld the 40 pins of the screen to the Raspberry. I recommend that you check each weld with a multimeter to make sure the connection is correct.
Software
We will have to access Raspberry via SSH to execute a series of commands. Remember that to activate the SSH you have to create a file in the root of the SD called ssh.
If you are using a Pi Zero like I am, you will have neither Ethernet nor Wifi. My solution has been to use a Pi 3 Model B for the configuration process.
Execute the following commands:
1
2
3
4
5
6
cd ~/
git clone https://github.com/tianyoujian/MZDPI.git
cd MZDPI/vga
sudo chmod +x mzdpi-vga-autoinstall-online
sudo ./mzdpi-vga-autoinstall-online
sudo reboot
After restarting the Rapsberry the screen should already be working.
Remove blue tint
If the screen has a certain blue tint, you can run:
1
2
sudo raspi-gpio set 8 a2
sudo raspi-gpio set 7 a2
To make the solution permanent, add these two commands to the startup script /etc/rc.local just before the instruction Exit at the end of the file.
1
sudo nano /etc/rc.local
Something like this:

Rotate the screen
The display orientation may not be appropriate. To change it, edit the config.txt file that you will find in the root of the SD and add:
1
display_rotate=1
Try with numbers from 1 to 4 until you find the correct rotation.
Sounds easy… But it took me a while to discover it!
As I say, it seems easy, but I had to try a few screens before finding the good one, which has all the features I need for my handheld project. I suppose that later I will create a post talking about it. I hope it has been useful for you.
Javier Helguera.