Veracrypt: Encrypt Your Personal Data (Guide from Scratch)
Protect your data on the go.
A Bit of History
VeraCrypt is a free software application used for disk encryption, employing various encryption algorithms such as AES, Serpent, and Twofish, or a combination of them. It allows creating a virtual encrypted volume within a file or a partition, or (on Windows) encrypting an entire storage device with pre-boot authentication.
VeraCrypt is a fork based on the source code of the discontinued software TrueCrypt. It inherits not only the code but also the original license (TrueCrypt 3.0), which was never considered free by either the FSF or the OSI. The code developed since then by the new team is under a free Apache 2.0 license. However, due to containing parts licensed that are not free (from TrueCrypt), it cannot be considered free software (or “open source,” according to the OSI definition) but only freeware, for the same reasons as TrueCrypt. This is also why some Linux distributions do not usually include it in their respective official repositories.
Veracrypt Installation
Veracrypt is available for Windows, Linux, and MacOS. Download the version you need from the official page.
If you use a Mac, you’ll need to download the OSXFUSE software and install it before Veracrypt. Restart your Mac once you have it.
Data Encryption
Two options
Full Disk or Partition
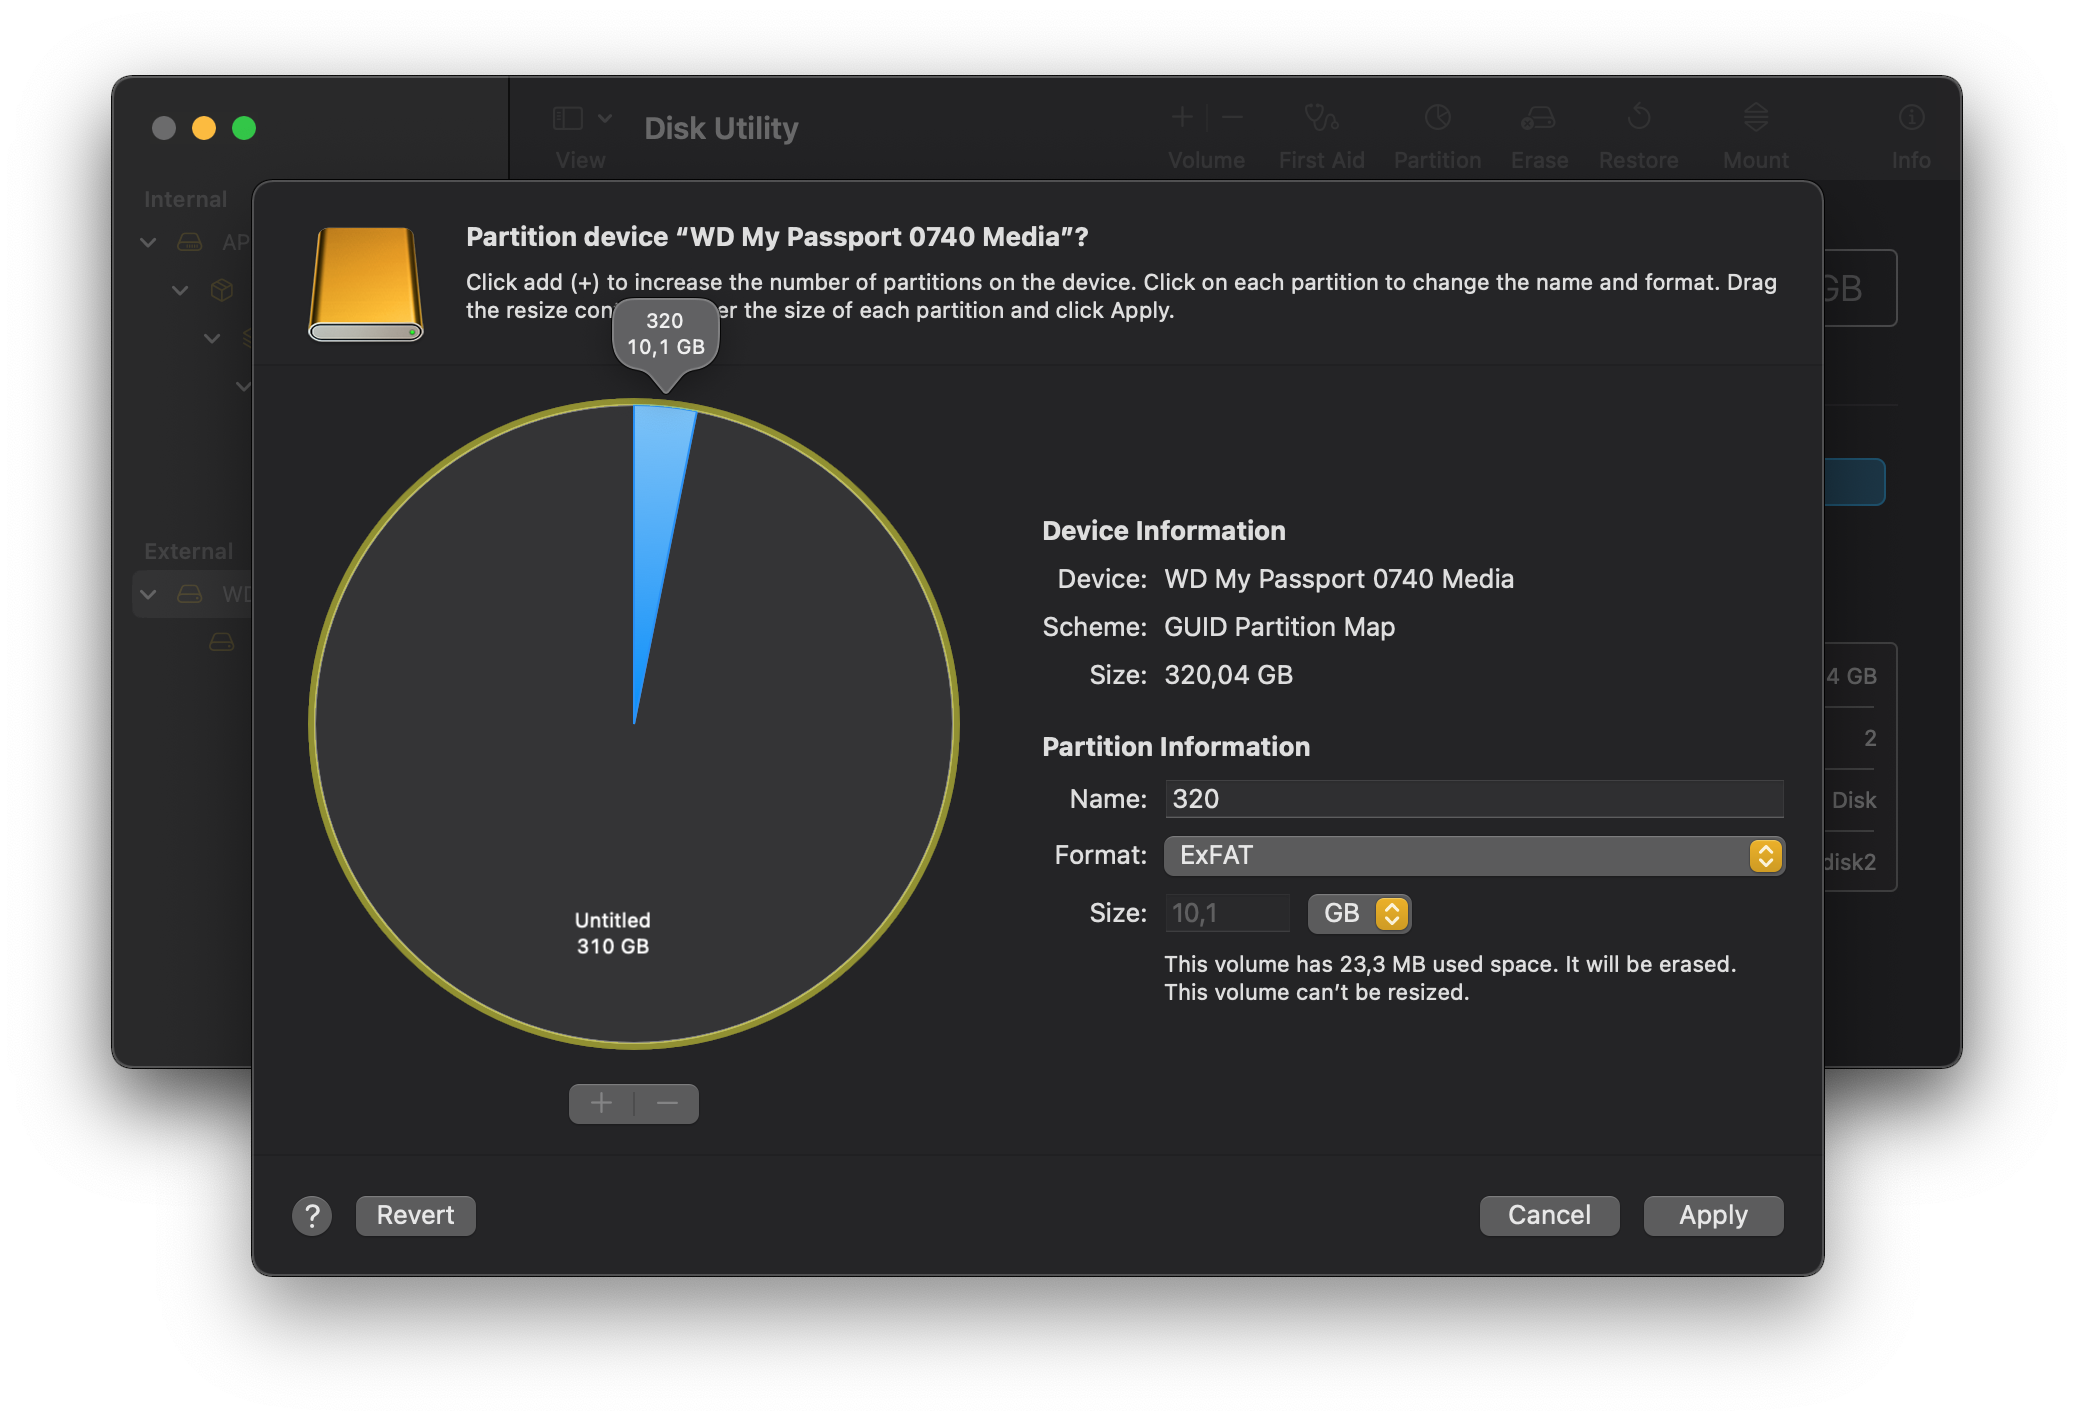
As an example, I’ll use a 320GB external hard drive in which I’ll create two partitions. One is a 310GB ExFAT formatted partition that won’t be encrypted, and the other is a 10GB ExFAT formatted partition that will be encrypted. The process can take a long time depending on the size of the partition we want to use. Remember that it’s not necessary to create multiple partitions. You can encrypt the entire disk.
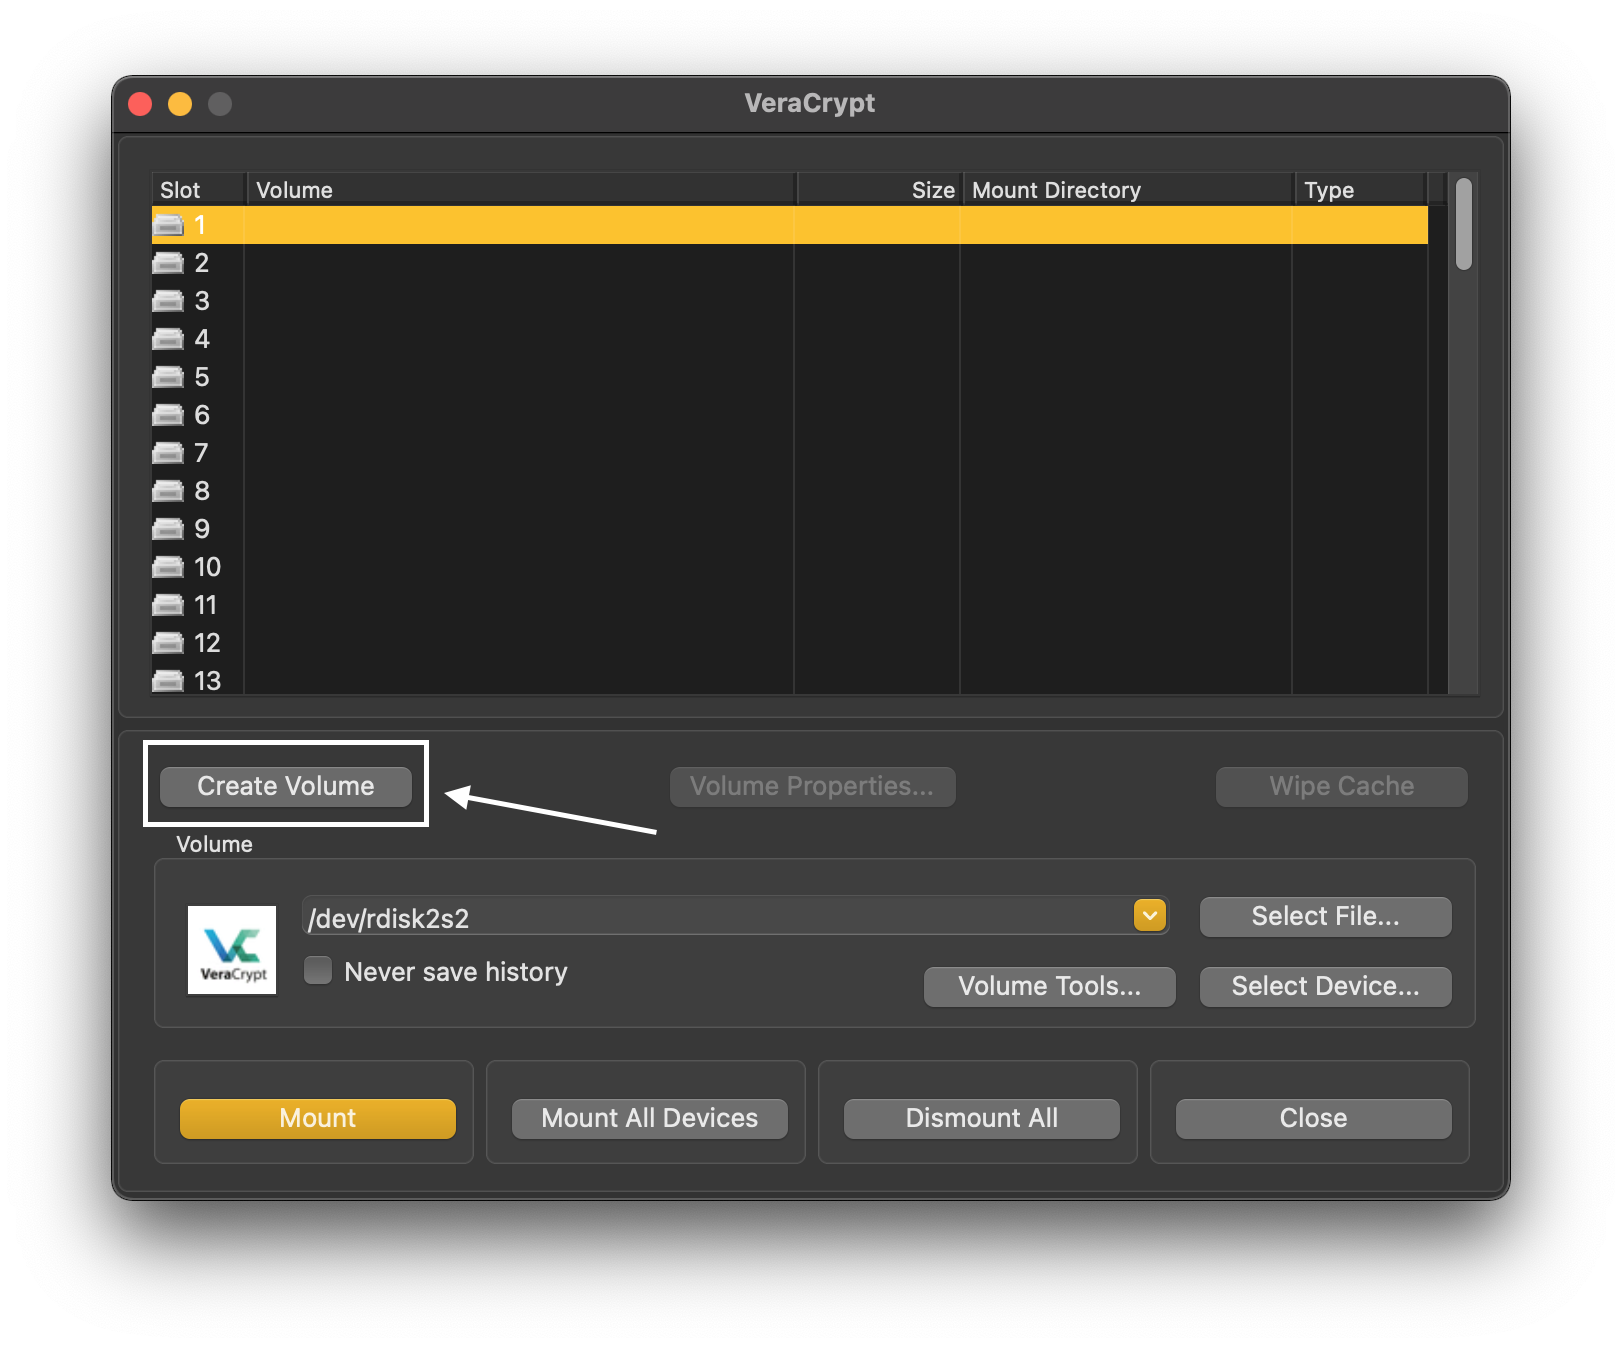
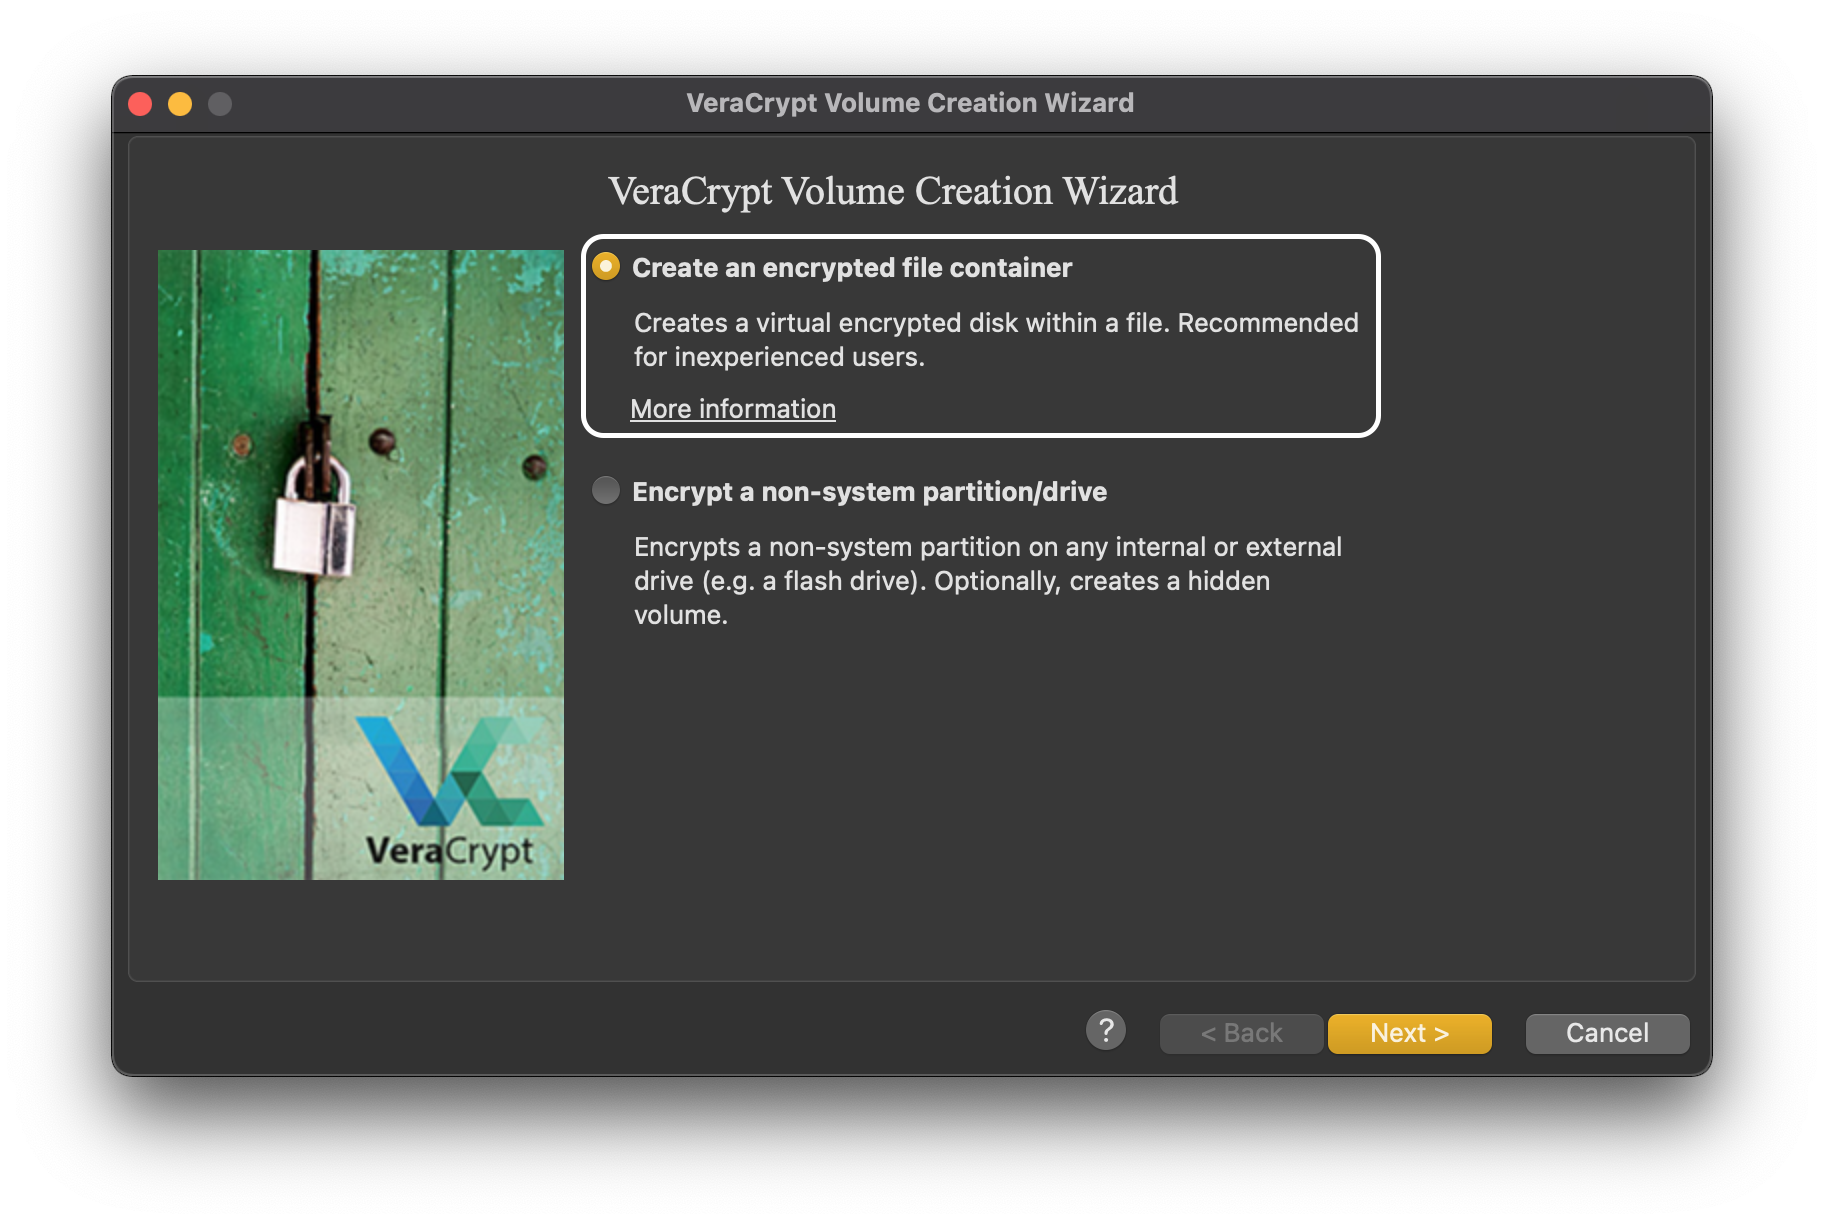
We create a new volume:
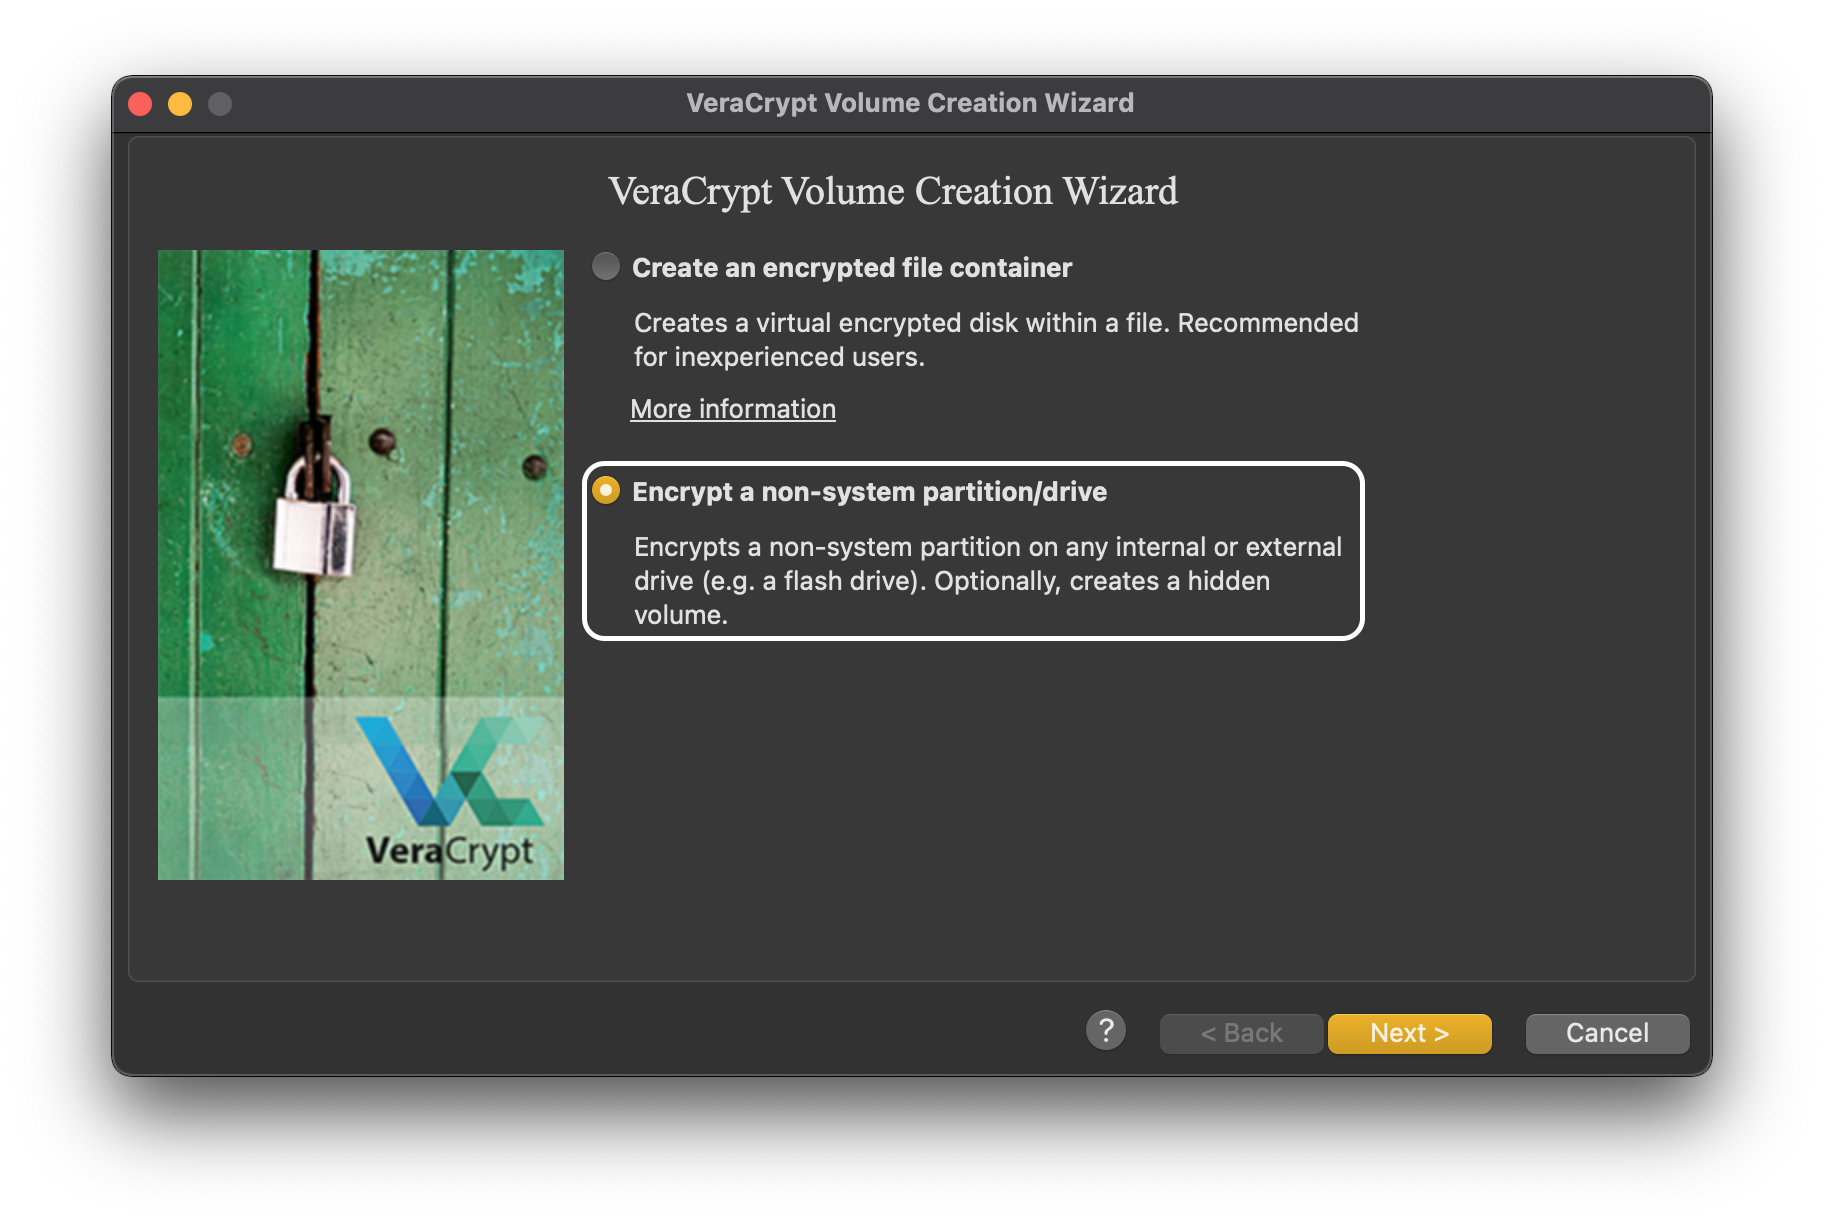
Select the second option:
In the next tab, it will ask us what type of volume we want to create. I won’t cover hidden volumes in this post, so we select standard.
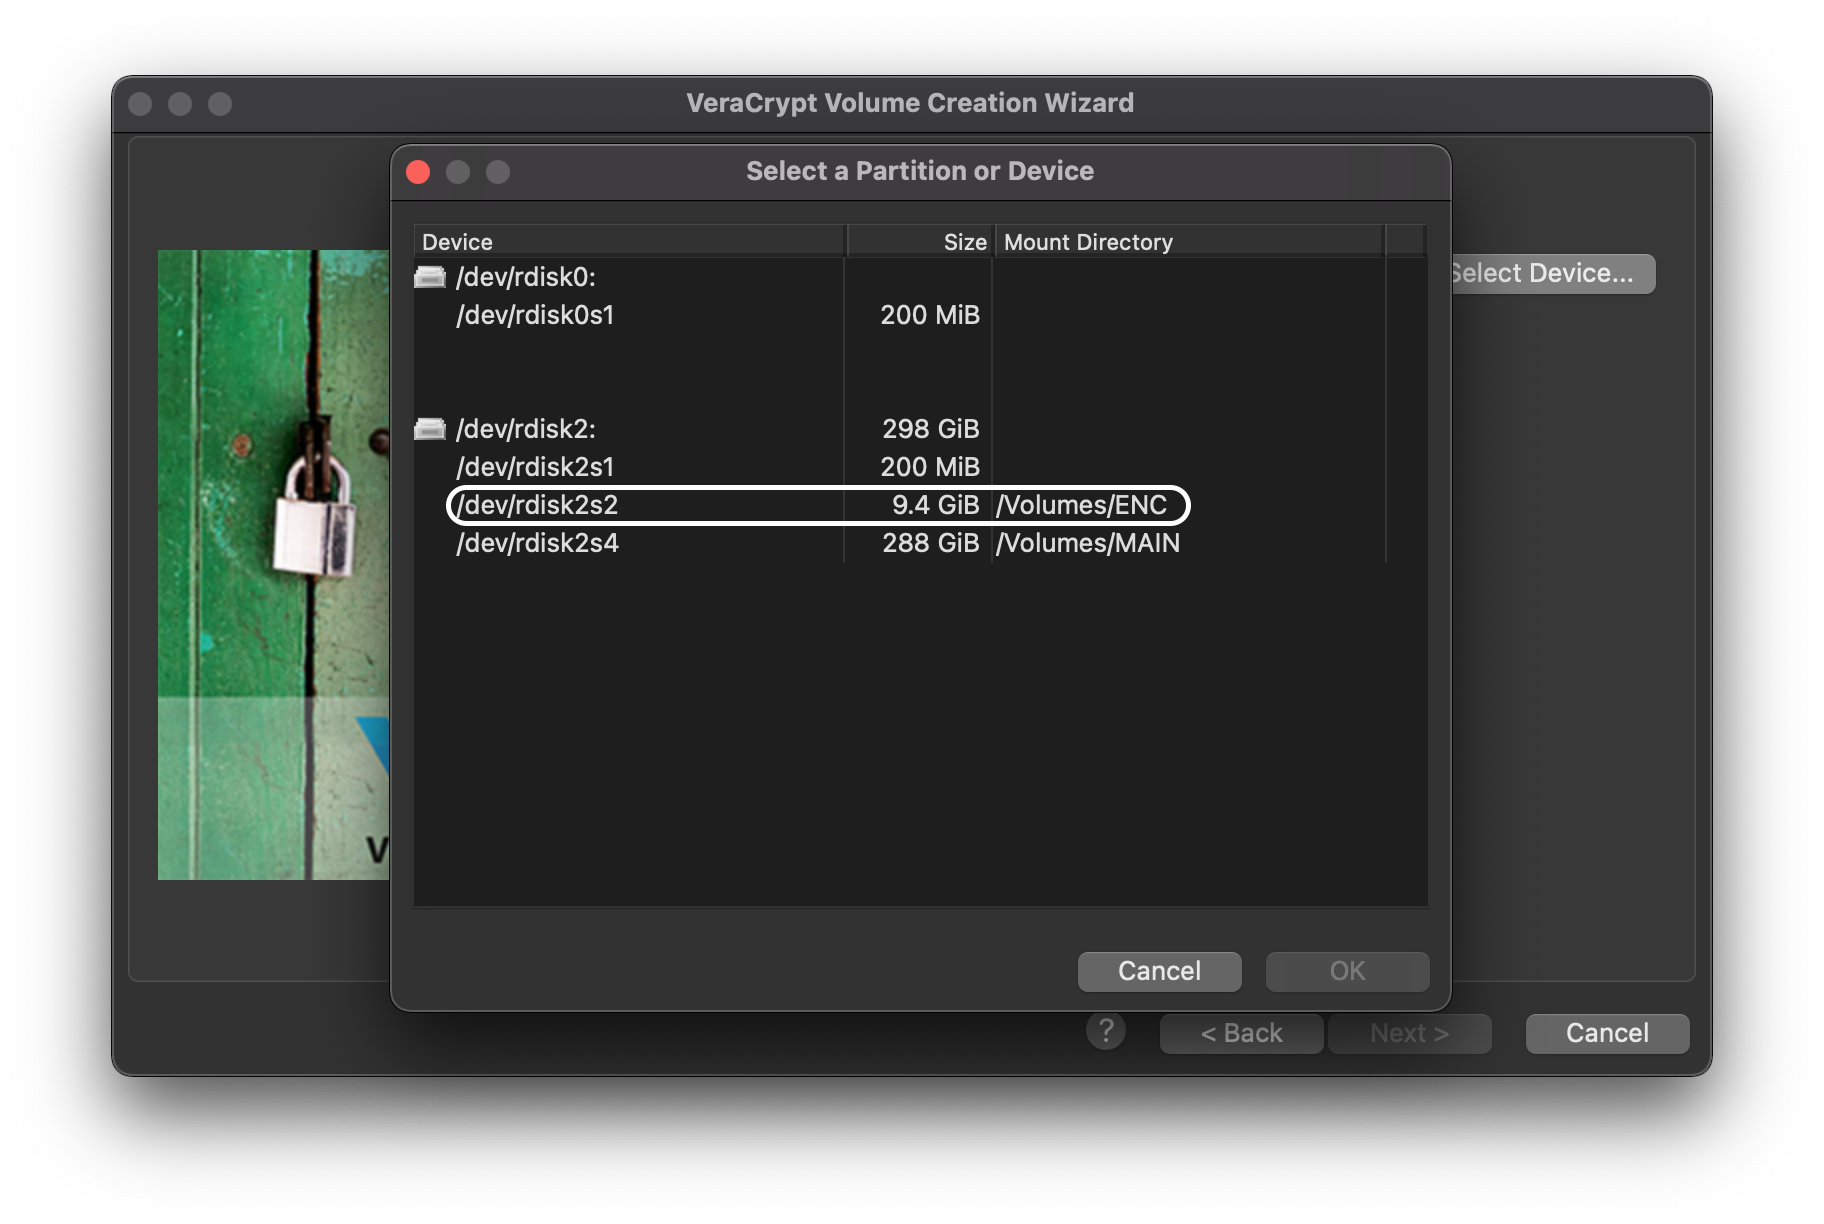
Now select the partition or disk you want to use. As you can see in the following image, the disk I’m going to use has two partitions as I mentioned before. I’ll use the one named “ENC,” which is 10GB:
The next thing we need to select is the encryption algorithm. I recommend using AES with SHA-512 as the hash algorithm. Currently, it is one of the most secure hash functions available.
After setting a password, which we better not forget, it will ask if we plan to store files larger than 4GB. Select Yes and for the file system, select ExFAT.
To avoid future problems, indicate that we will be using the drive on different operating systems.
Virtual Drives
A virtual drive will be a file that we’ll store on a storage device, whether removable or not. When we want to access the information it contains, we’ll have to mount it to appear as another connected disk in the system. This file can be moved to a different location.
We create a new volume:
Select the first option:
In the next tab, it will ask us what type of volume we want to create. I won’t cover hidden volumes in this post, so we select standard.
When it asks for its location, we have to specify a directory in the system where it will be stored and the name we want to give it.
The next thing we need to select is the encryption algorithm. I recommend using AES with SHA-512 as the hash algorithm. Currently, it is one of the most secure hash functions available.
Finally, specify the size of the virtual drive, set a password, and select ExFAT as the volume format. To avoid future problems, indicate that we will be using the drive on different operating systems.
Finishing up
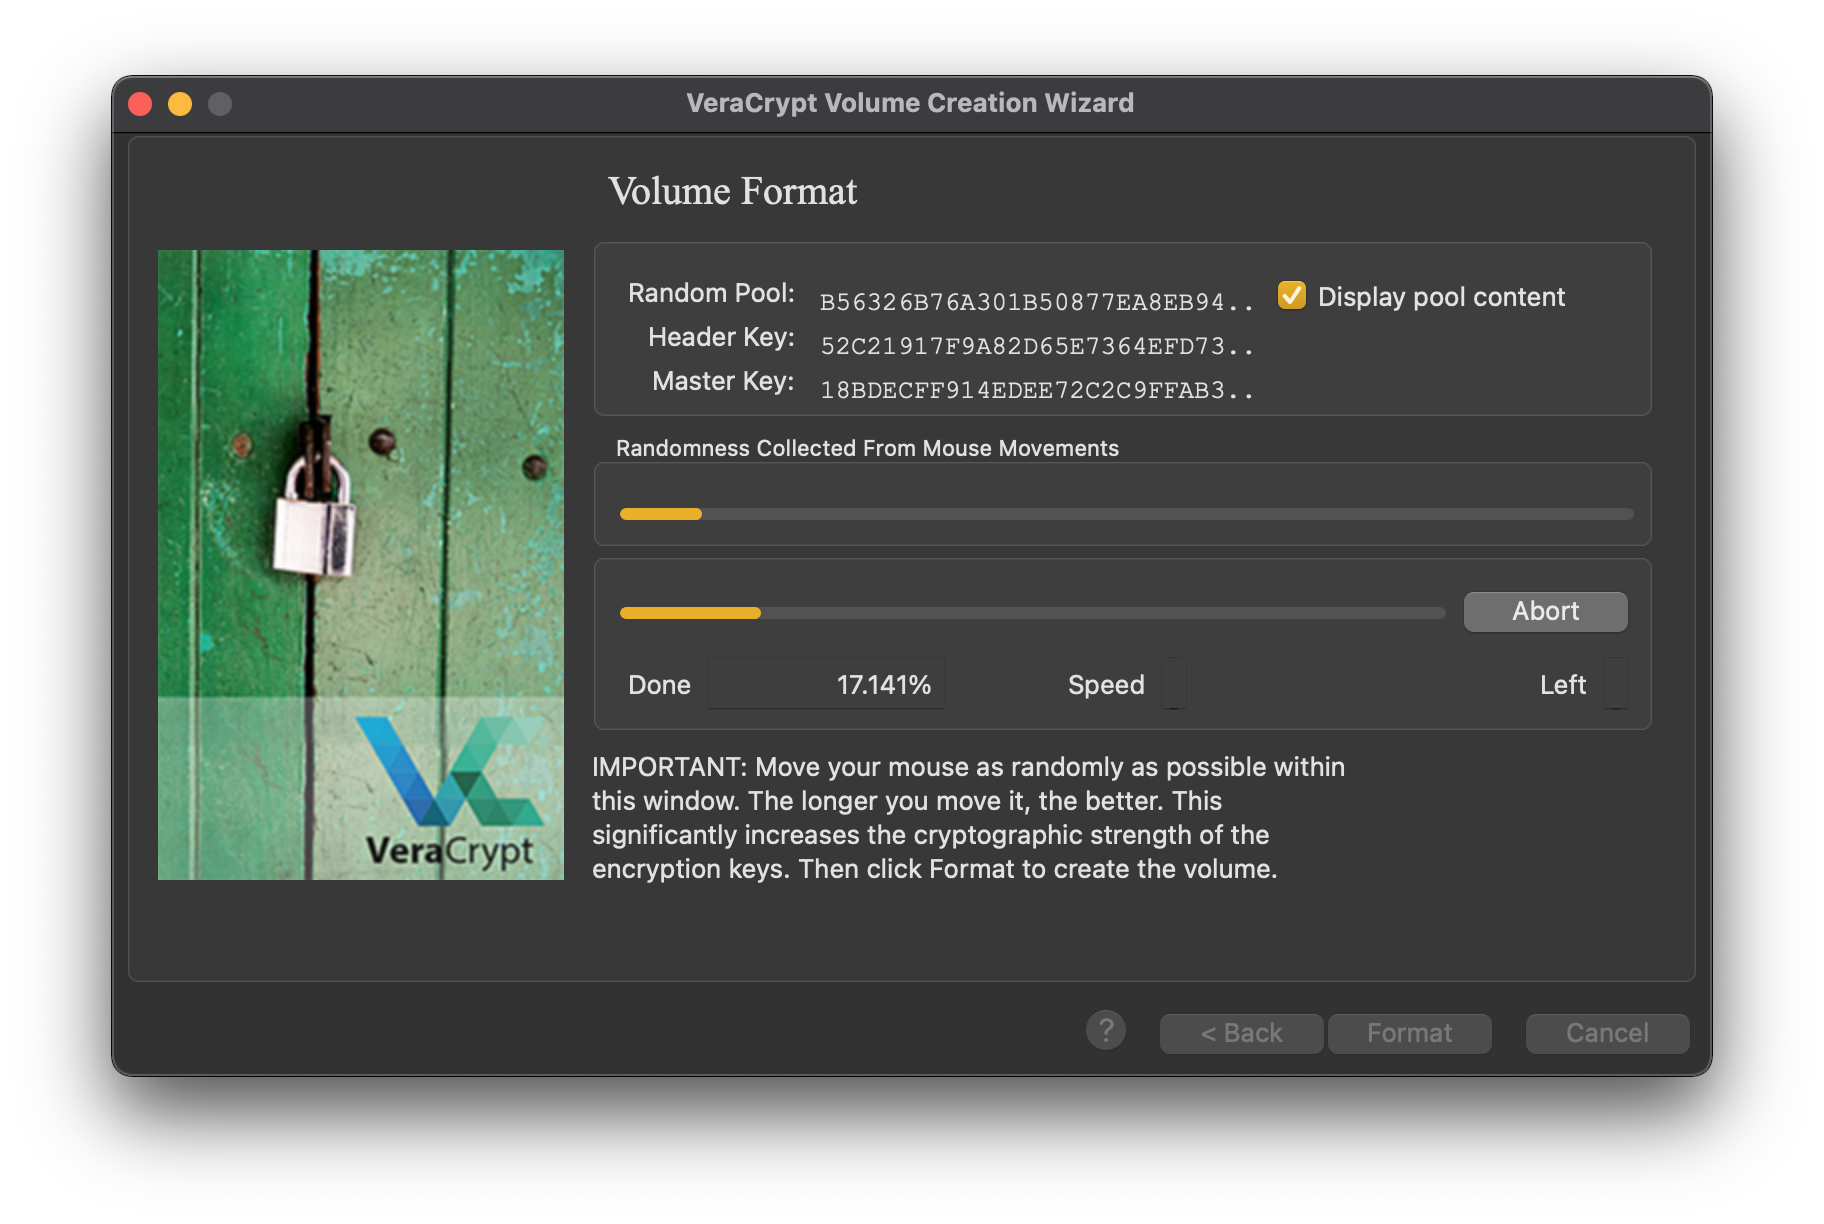
Now comes the interesting part. The creation of the pool is random based on the movements we make with the mouse on the screen. So don’t hesitate, move the pointer as much as you can until you feel the bar has filled enough. The more, the better, as it increases the cryptographic strength of the encryption keys.
Format the disk.
Mounting the Devices
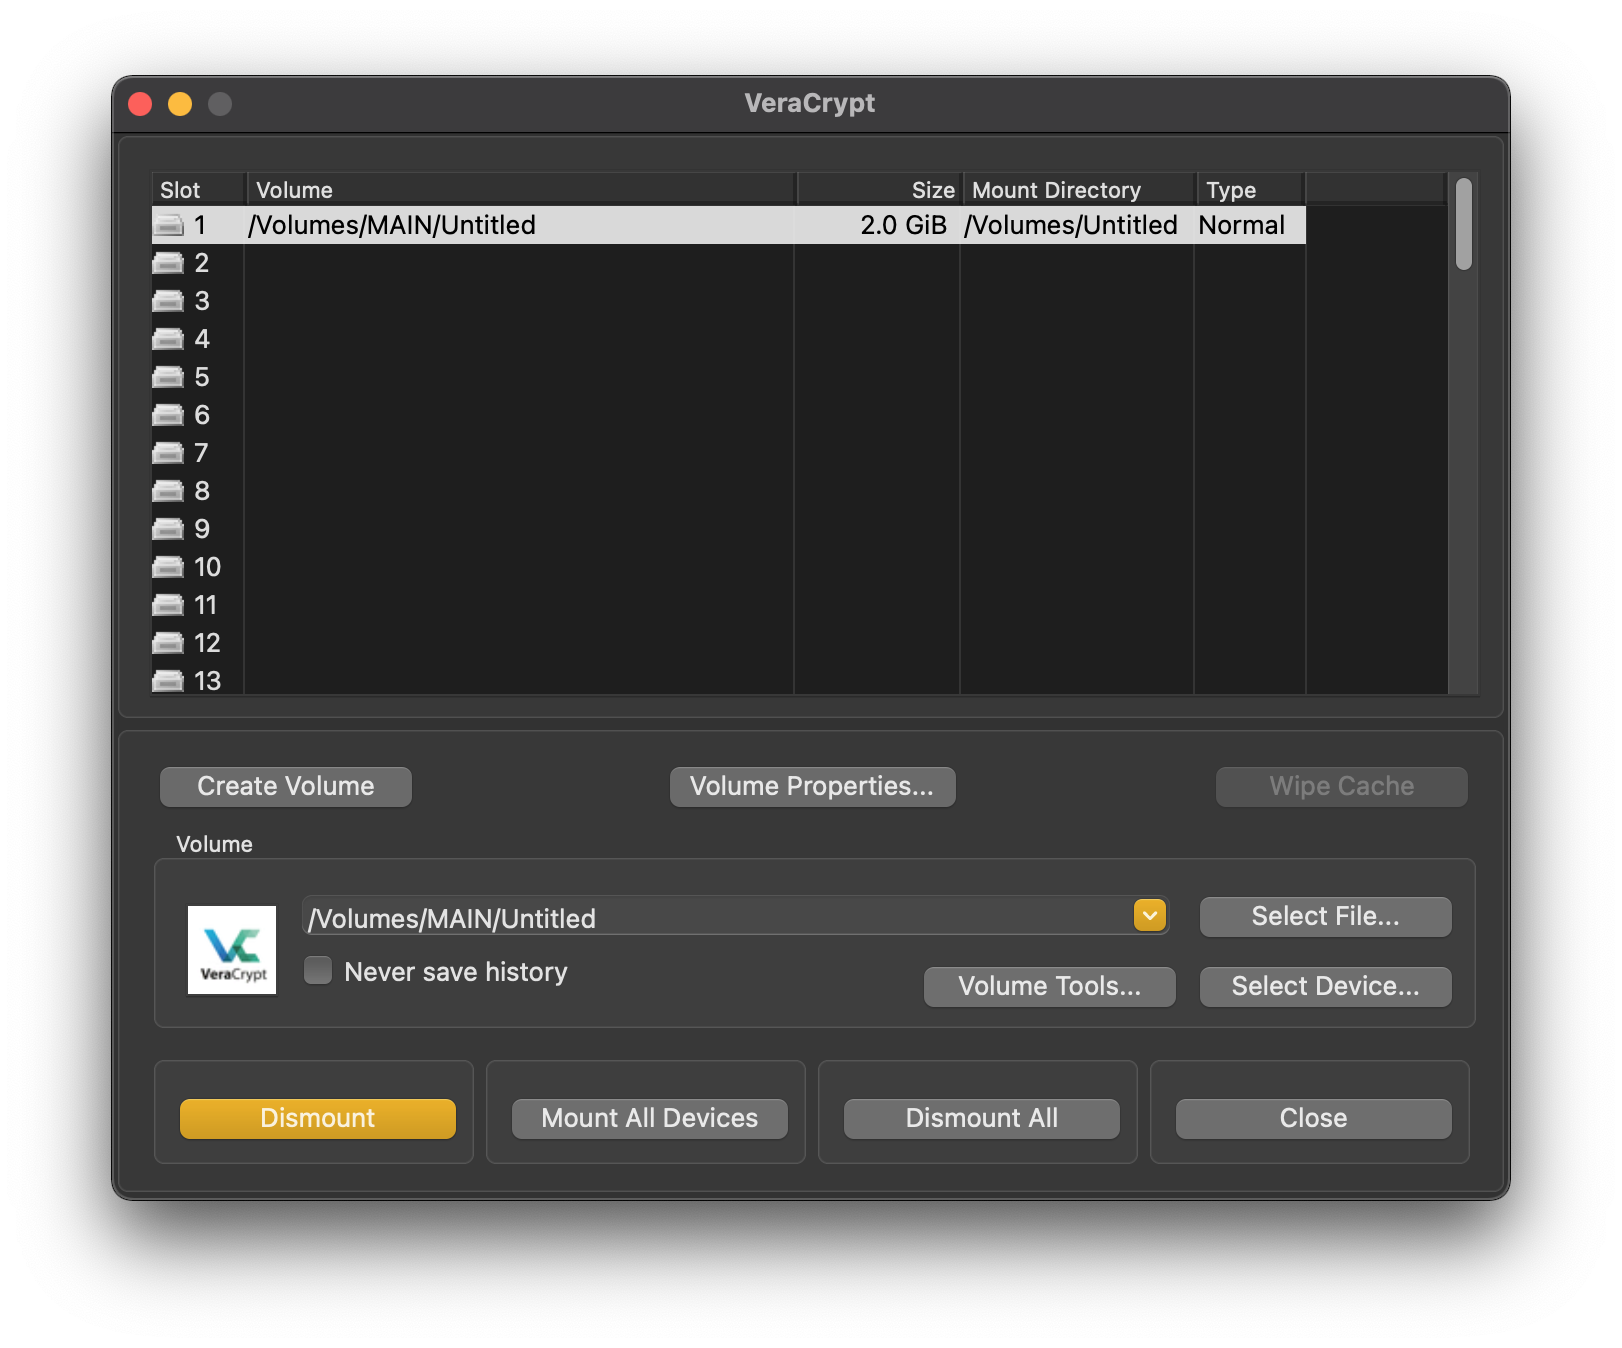
If we connect the disk now, we won’t see the encrypted partition we created because we’ll always need to mount it with Veracrypt to access it. Therefore, select the device and click on Mount. Similarly, if instead of a partition or disk we have a virtual drive, we’ll have to select the file and mount it.
If everything went well, and the entered password is correct, a new mounted disk will appear in the system where we can write and read files.
Before disconnecting it, it must be dismounted from Veracrypt to avoid problems.
Conclusion
This simple way, we can travel and move with our personal information on hard drives or flash drives without worrying that, in case of theft or loss, anyone can access it. We won’t recover it, but we’ll be sure that nobody consults it, or worse, makes illegitimate use of it. I hope it has been useful to you.
Javier Helguera.

